Monday, December 14, 2015

Architectural Relief


For this project, I was to select two architectural time periods and then merge/combine/adapt the elements and principles of each style to create a relief sculpture so it could clearly be seen that I was inspired by the time periods chosen.  

We were only to use the certain materials listed below:
  1. White foam board (any thickness). Can also use black.*
  2. White paper (came in your kit). Can also use black paper.*
  3. Balsa wood*
  4. Clear packing tape OR Elmers Wood Glue OR Tracing Paper.*
  5. Mask tape*
  6. White thread/string. Can also use black or gray.*
  7. Straight pins (with a flat head) for construction.
  8. Box cutter/utility knife (must use to cut foam core and balsa).
  9. Can use glue as long as it does not show. Use the Elmers Wood Glue. 
  10. Can use black ink or pen for mark making or to tint paper and/or wood.
 * indicates that this material had to be used as a design element showing in the final project.

The two time periods chosen were Byzantine and Egyptian.
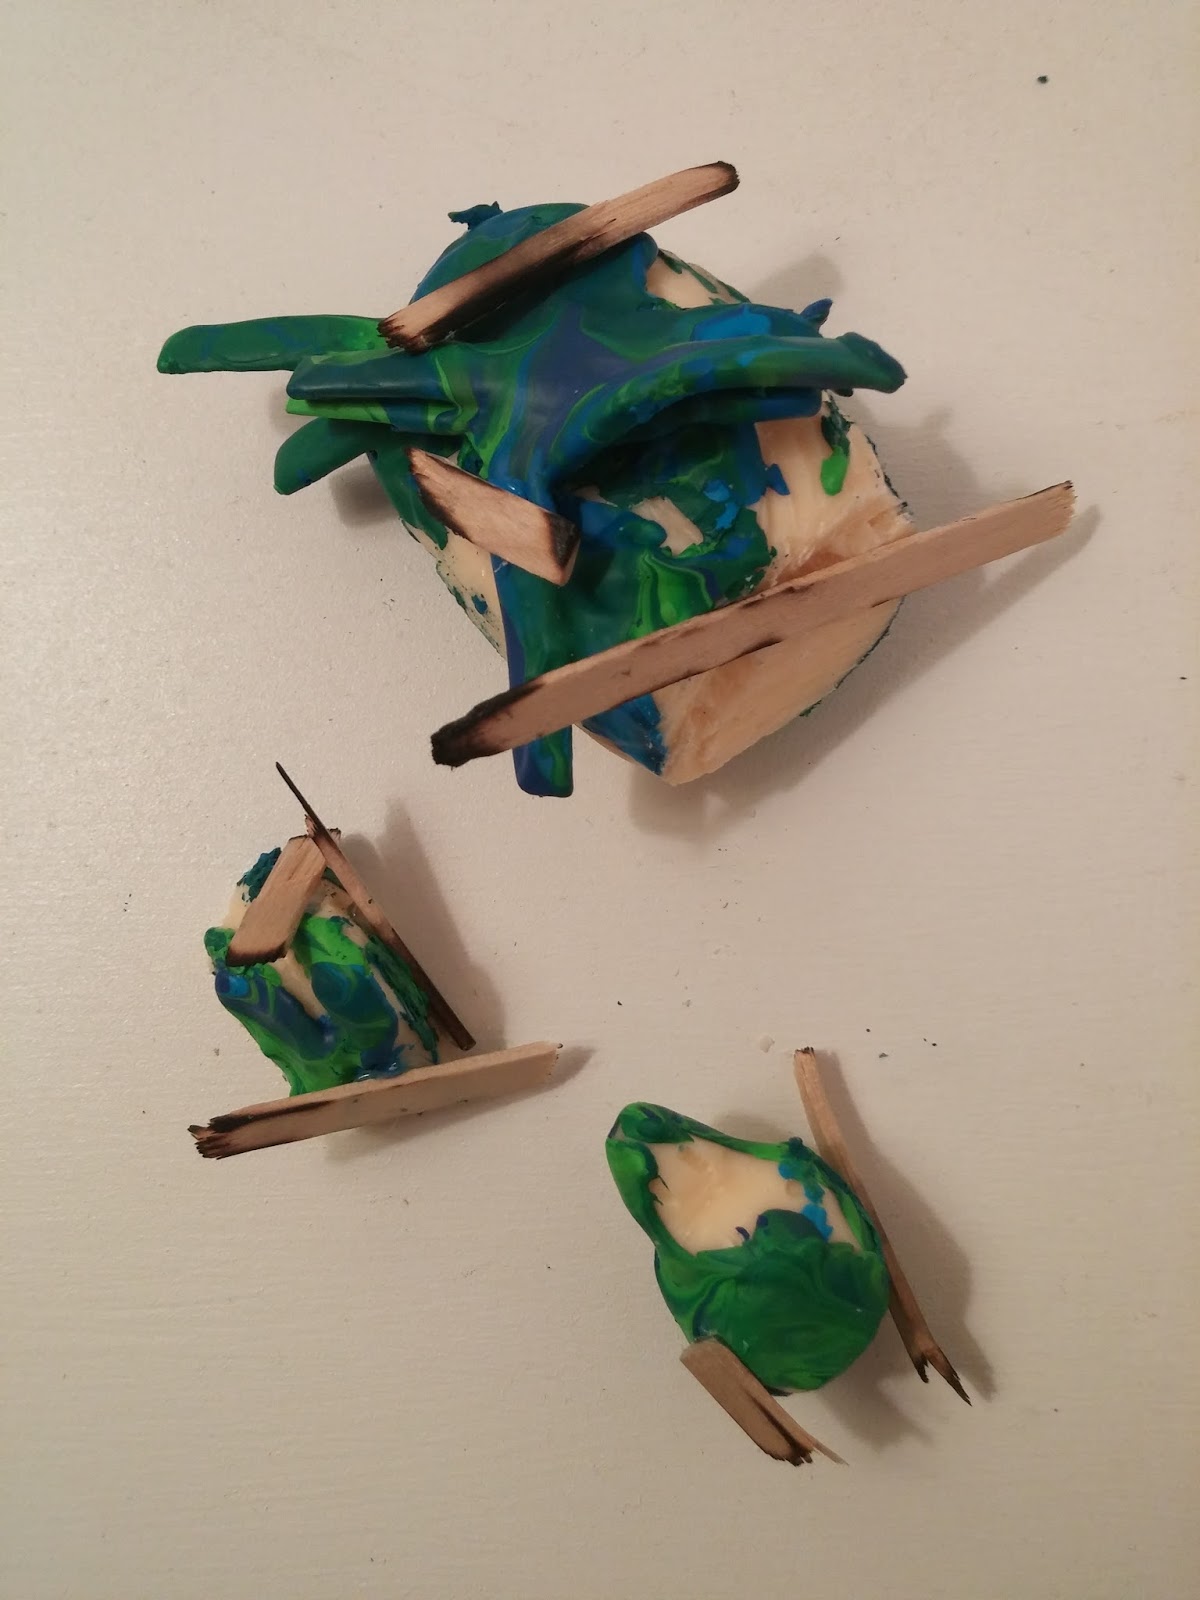
Below are final and in process photos of the whole project.


Memento

For this memento project, we were asked to make a non-representational sculpture of a memory. 
We were to use no more, no less, than three (3) materials. I used elements and principles of design to symbolize my memory

Finally, what was created is a free standing sculpture that is meant to be held in hand. 

The materials I chose were:

1.) Masking tape
2.)Hair/fur
3,)A white washcloth

 I chose these materials all for specific reasons. The fur was to represent the warmth that the kitten from my memory needed to stay warm. The fur that let him down. The fur that didn't quite work as well as it should have. The fur that led to his freezing to death.

I chose the white washcloth not only to represent the innocence of that poor little kitten but also because there were the washcloths that I laid over him outside while I waited overnight for his mom to come back for him.

The tape was chose because it collects everything with its sticky side and it is so moldable. This memory will stick with me forever. I'll never lose that picture of my kitten, frozen in a shoebox, clearly showing that he was trying to stay warm. That kitten was a few weeks old. He had a lot of learning and growing up to do. Just as the take was impressionable, so was he. He just never got the chance to be molded as the tape did.


Masking Tape Shoes


For this project, it was asked of us to make a pair of shoes, with laces, and solely out of masking tape. It was quite a fun process and probably my favorite project of all semester.

I started by thoroughly dismantling  an old shoe so that it was completely torn apart and each separate piece that made up the shoe was exposed. From there, I took the pieces and made a replica of each one using the masking tape.

After each piece was recreated, I assembled them just as one would assemble a real shoe. Here are some of the final pictures and in process photos of the entire project.


Sunday, December 13, 2015


Body Happenings

For this project, I had to create a wearable sculpture that did something such as open, close, make noise, blow in a fan, etc. I chose to create something that enhanced my ability to create noise.

They are called stick fingers. Each separate finger was created with masking tape, a base, and an object at the tip. Each tip of all 10 fingers had a different object so that when they came in contact with another object, they made different noises.

Monday, November 16, 2015

Soap Carvings and Then Some


Soap Carving


Assignment:
Carve two forms from life (a small, plastic animal) using soap as your medium. Observe and depict proportions.  Apply concepts of time to one of your carvings so that the form no longer represents your chosen animal.  Use the same animal for both forms.

Materials:
-One good quality bar of soap - two bars are best.
-Carving Tools
-One plastic animal figurine

The carving of these ducks out of soap was definitely a process. It was different for me because I'm used to creating from building my way up. In this case, I had to carve out the negative space around the duck in the soap. I had to force myself to look at it all backwards. In the end, I was pleased with the work I had done to get to that point; however, there was another section to this project that I still had to embark on. It was the part where we took the least proportionate carving and made it into something completely different.

For this part of the project, we had to make 4 subtractive and 4 additive changes to our soap. The List below will describe each step I made while showing images for each step as well.

Step 1: Subtractive

To begin, I cut off the base of my poor little duck. This was subtractive because I took away a large chunk of my soap.

Step 2: Subtractive

The next step I took was beheading the duckling, subtracting its head from its now poor lifeless body.


Step 3: Additive

In this step, I melted down oil pastels and covered the head and the body with them by rolling the 2 in it.


 Step 4: Subtractive

Here I cut off the duck's tail. The "detailing" is subtractive because I took away a piece of the duck that was attached before

 Step 5: Subtractive

In step 5, I cut up pieces of wood and burned the edges of them. This is subtractive because when wood burns, it goes through a chemical change. This change causes the wood to lose some of its mass.


 Step 6: Additive

In this step I glued the burnt wood pieces to my body and decapitated head and tail. It's additive because I put something else on my piece.
 

Step 7: Additive

In step 7, I added a cut up metal chain to the mix.


 Step 8: Additive

Lastly, I reattached the head and the tail in a new way, making it an additive change.


 The last part of this assignment was to add some sort of a base to our recycled soap creation. We were allowed to choose any type of base that would properly add the finishing touch for presentation of the piece. I chose to stack up silver coins and set my sculpture on top of the stack. 


Since my end solution in a way characterized a deserted pirate ship, my class thought it would be nice to convey my final piece on top of coins like a pirate's treasure.